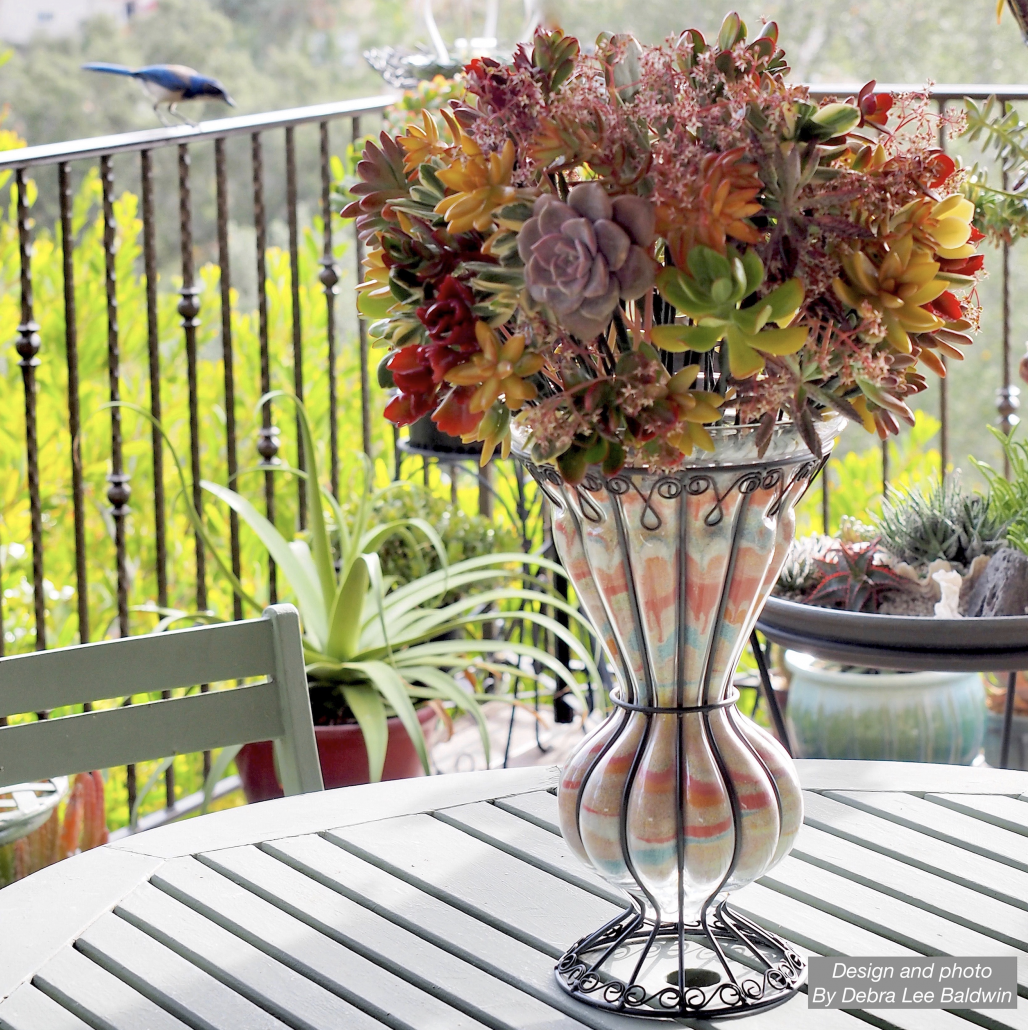
Use Colored Sand to Hold Succulent Bouquets
I like to display bouquets of succulent rosettes in clear glass containers filled with layers of sand. Practical as well as pretty, the sand lends color and interest, and serves as to anchor the stems so top-heavy rosettes don't tumble out.
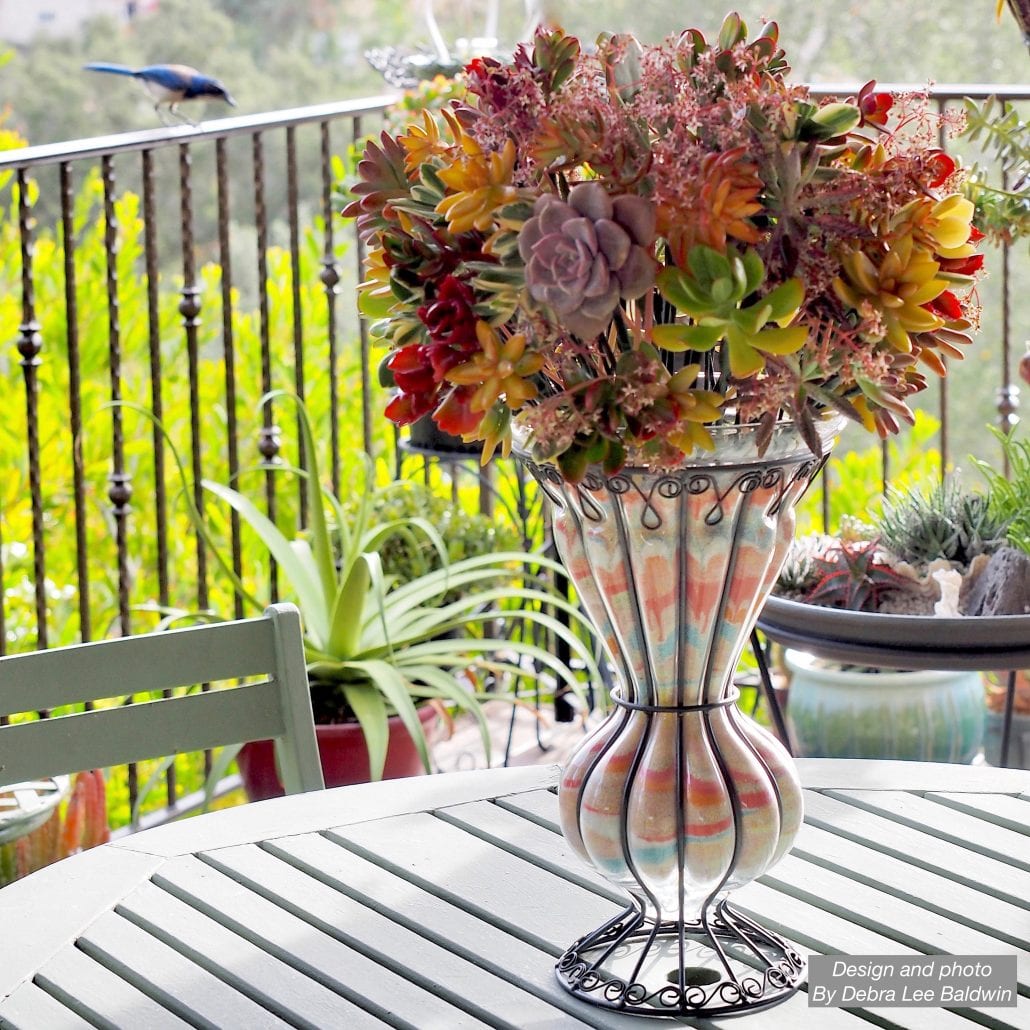
A jay appears interested in the spring succulent bouquet I made for the 2018 Super Succulent Celebration.
Succulent sand bouquets make quick and original hostess gifts. Moreover, recipients can remove rosettes from their faux stems and plant them, if they like.
The inspiration for my spring 2018 succulent sand bouquet (above) was an unusual blown glass vase I found at a thrift store. But any glass cylinder, bottle or jar will work.
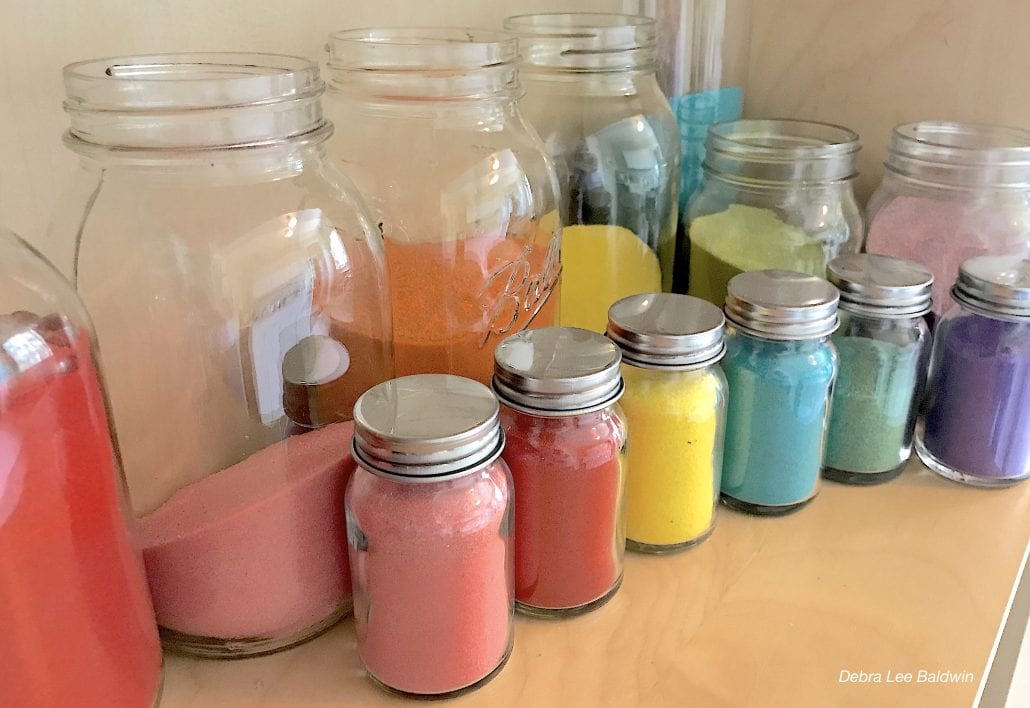
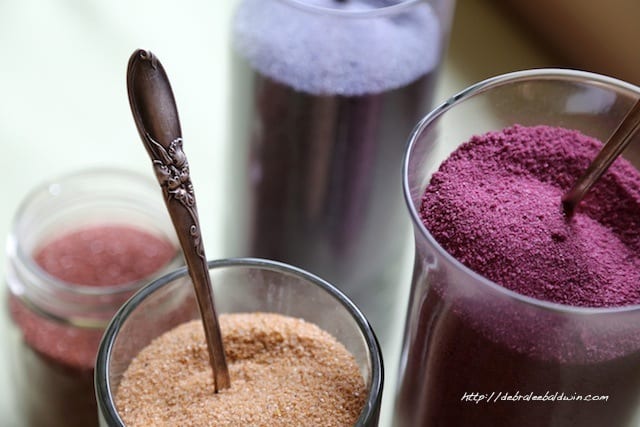
I keep a palette of colored sand in glass jars on an open shelf so I can enjoy looking at them, even when not using them. Colored sand is available at craft stores and online.
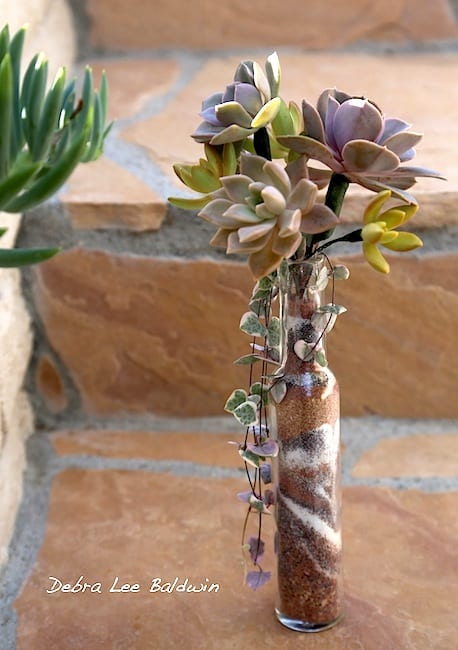
This arrangement, which took about 15 minutes to make, is in a repurposed vinegar bottle.
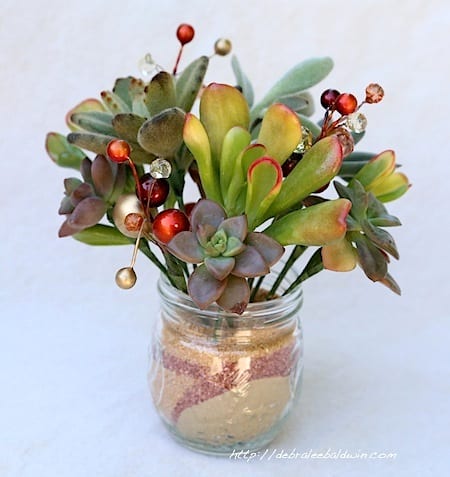
And this one was a holiday gift.
To make your own colored sand, obtain a bag of playground sand from any home improvement store, plus Rit dye in whatever colors you want (sold in supermarkets and online). The sand looks white but is actually pale gray, but that's OK, because the resulting muted colors look fine with the plants. To color sand, pour the liquid dye into a pan no longer used for food, add sand to the level of the liquid, and bake until the liquid evaporates---300 degrees for an hour or so. Stir occasionally with a metal spatula or clean garden trowel. Let it cool outside, stirring every so often to expose moist sand and to break lumps. When cool, funnel the dry sand into glass jars and store the excess in ziplock bags labeled with whatever color or mix you used.
When making a bouquet, select sand based on the colors of the rosettes (or vice versa).
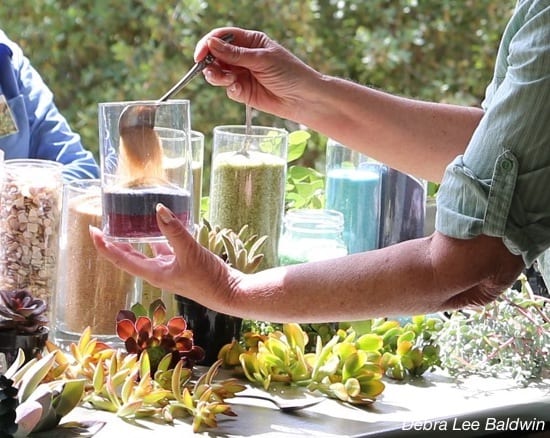
I usually fill the container halfway with three colors, then turn it on its side and rotate it to make swirls, then add more sand so stems will be concealed. Try pushing a stiff wire or chopstick into the layers, along the inside of the glass, to create drizzly Vs.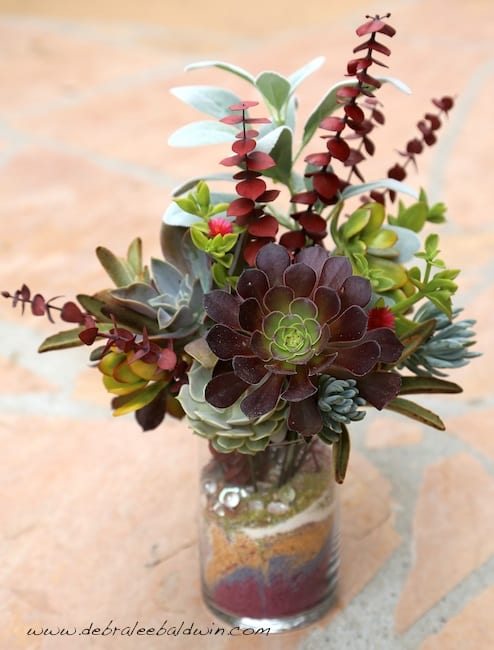
Related Info ~
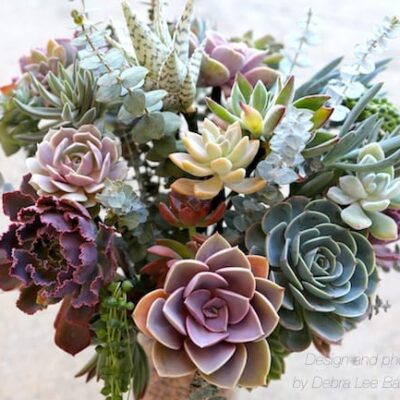
Make a Bouquet of Succulents
When I need a hostess gift, thank-you present, or an arrangement for a special friend, I make a bouquet of succulents. I start by selecting a coffee mug or glass container (usually a jar, thrift-store vase, or clear bottle), the size of which determines the size of the arrangement. Then I head into the garden with clippers.…
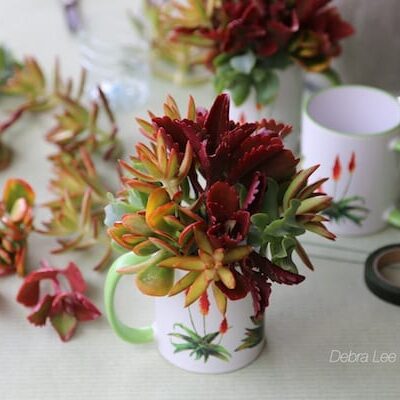
Make a Succulent Mug Gift Bouquet
Make a succulent mug gift bouquet the next time you need a little something for a friend or hostess. This transcends the traditional flower-stand bouquet and has utility long afterwards.

I’m so inspired by these bouquets and thoughts of lovely inclusions of eucalypts , but how can I get my evheveria to spread ? I don’t get succulent babies growing very quickly
Hi, Laurel — The main growth period for echeverias is spring and summer. They’re dormant in winter, so waiting a few months makes a difference. That said, some varieties have more of a tendency to produce offsets than others. Echeveria imbricata, which is a lovely sky blue, is one you can count on to do so. If you’re growing the fancy ruffled varieties and want more, my video “How to Behead Ruffled Echeverias” explains how. https://www.youtube.com/watch?v=9ZUnvTfVGDM — Debra
Oh, Debra! These are utterly spectacular! I particularly like the way you have used colored sand to coordinate with the coloring of the succulents you used in each bouquet.You even seem to mimic the complexity of the arrangement in each vase. The one with the large, dark, dramatic aeonium has a similarly large accent of the dark magenta at its base. And the one at the top, with many colors and more intricate texture similarly has a more detailed combination of smaller layers of colored sand.
So inspiring!
Thanks Kat! I love how you described it…with a designer’s eye! Credit where due…The one with a dark aeonium was done in one of my workshops by one of my students.
Thanks, Kat! Credit where due—the one you mention with the dark magenta was done by a student in one of my classes. ;+) Debra
So Gorgeous, Its really looks stunning.. I love this amazing post…
I love the way you use sand layers in some of your terrariums. I am going to share this idea with some Highschoolers. I want to invest in
unusual colored sand. Can you recommend where I can purchase large amounts of sand?
Hi Carol — Hm, large amounts? Does 5 lbs qualify? (affiliate link) Walmart sells “rainbow colored play sand” in 20-lb bags but at $50/ea. it seems pricey.