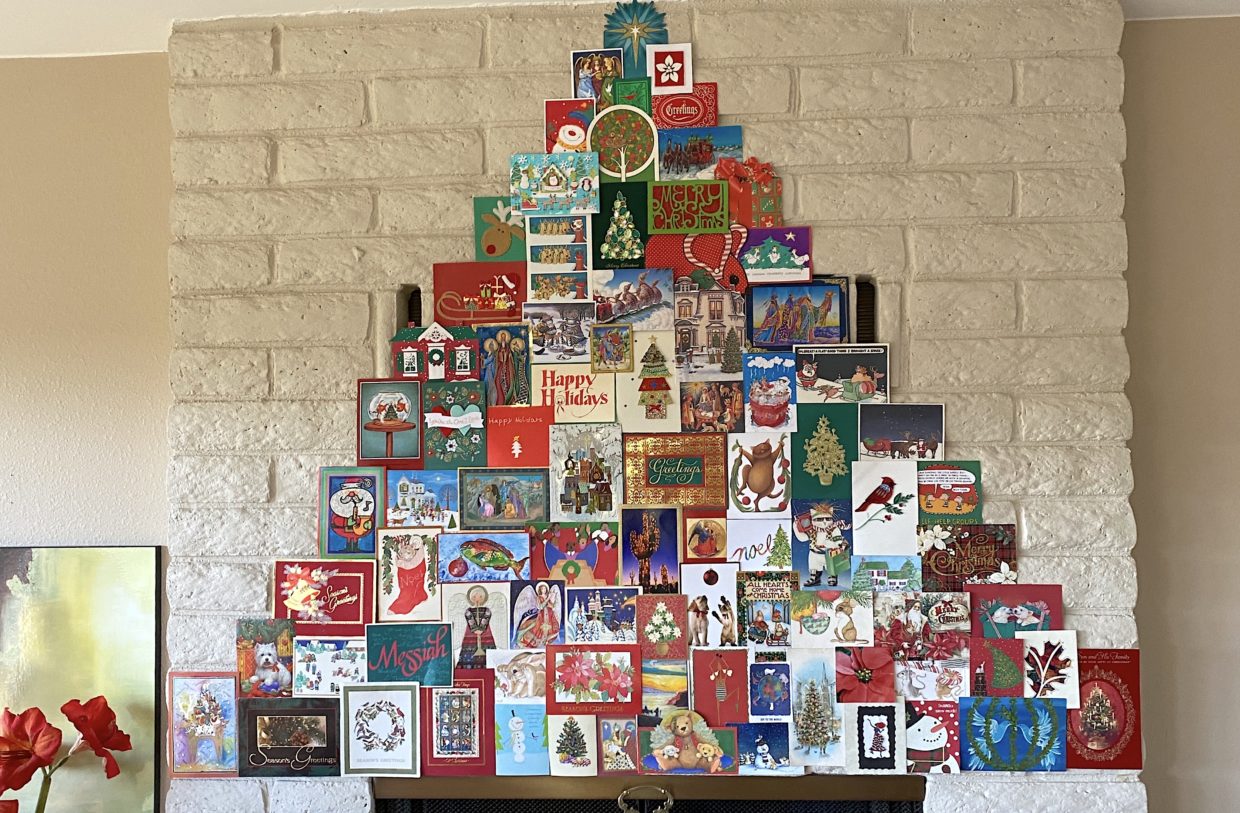
Create a Wall Christmas Card Tree
A wall Christmas card tree takes up no floor space and is as engaging as any 3-D tree.
For my family, creating a Christmas card tree is an annual event. It's a tradition I started decades ago. Guests express surprise that we receive so many cards. We don't, really. Some date to the '70s!
Not enough Christmas cards?
Well! You might combine succulents with the holidays by making a tree of cards from my "Succulent Chic" Zazzle store. (Please send me a photo if you do!) Here's one example:
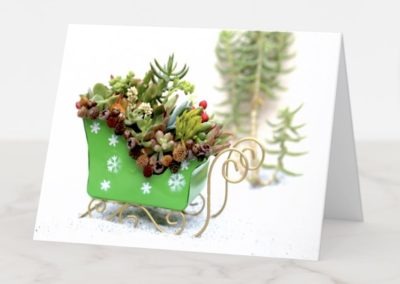
Succulent Sleigh greeting card from Succulent Chic
Additional ideas:
- Use rectangles and circles cut from wrapping paper. Glue onto heavy paper so they don't curl.
- Buy several assortments of inexpensive holiday cards (affiliate link). For about $40 you'll have plenty.
- Do a tree-shaped photo collage that celebrates your year's memorable occasions.
- Ask Mom and Grandma if you can put the holiday cards they've been saving to good use.
What about ornaments?
I gave most of my keepsake ornaments to my DIL, who does a traditional tree. Even so, I sometimes buy a bespangled ball. I display such sparklies in a large glass apothecary jar or in a wide, shallow bowl.

Ornaments on display in a star-shaped mesh bowl
Card Tree Tools and Materials
You'll need...
- String to outline the card tree's triangle
- Masking tape or painter's tape. Use heavy-duty if the wall surface isn't smooth.
- Scissors to cut cards at the fold. You'll only need the front, and if uncut they're too heavy and hang open.
- Stepladder (optional). Depends how high you have to reach.
- Cards. It's difficult to estimate the quantity, but FYI our tree measures 70 inches on each side and takes 80-90 cards.
Card Tree Assembly
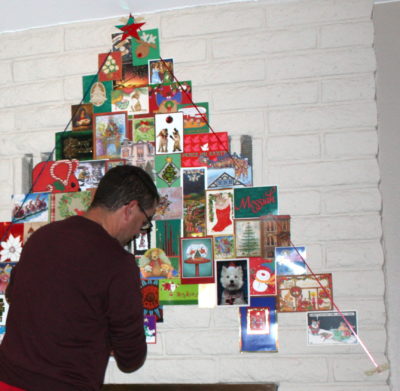
Begin by outlining an equilateral triangle with ribbon or string tacked or taped in place.
- Lay out previous years' cards for approval. "I need a vertical," my son will say, glancing at us lazy spectators over his shoulder.
- No star for the top? Cut one from a card.
- Extend upper corners of outermost cards beyond the string to give the tree a stair-step edge. How far? Figure half the width of the card or simply eyeball it.
- Cards can---and should---slightly overlap.
- Small cards mostly (but not necessarily) go at the top; larger ones, farther down.
- Help whomever's doing the assembly by rolling one- to two-inch pieces of masking tape. Each card needs three or four pieces of tape to secure it.
- Attach cards to the wall, not to each other.
- Place cards parallel to walls and ceiling.
- Remove the string when you're done.
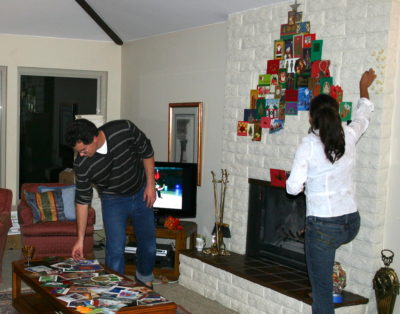
Note the rolled pieces of masking tape at upper right.
Enhance the experience
We light a fire in the fireplace, put a holiday video on the TV or listen to Christmas music, have hot cocoa or mulled cider, light pine-scented candles, and set out snacks.
Much of the fun is evaluating cards that come in the mail for their "card tree potential." We also read friends' holiday letters and give priority to earlier cards with sentimental value. But the best part is looking at photos of past card trees that show kids as they're growing up.
How long does a card tree take?
Figure about a minute per card. This year's card tree, at top, took about 1-1/2 hours.
When it's finished
Pose people with the card tree. I sometimes turn the annual photos into greeting cards or tuck copies into holiday cards.
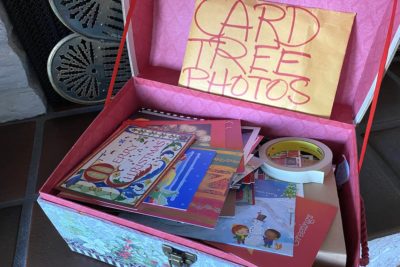
Our card tree storage chest takes up significantly less room than a fake tree.
Be sure to put one in an envelope big enough to hold additional photos. Write the year on the photo and keep the envelope with cards you'll use in future years.
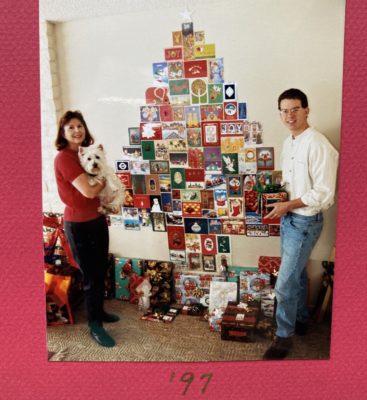
Trust me, you don't want to try to figure out the year a decade later.
Shop holiday sales. Gorgeous Christmas cards often can be had for 50% off. The more bling the better. I personally like cards with rhinestones.
If you're not already doing so, save colorful greeting cards that arrive in the mail.
I'd love to know what you think. I welcome your comments and questions below. Happy holidays!

Great ideas! Thanks for sending instructions and tips.
We normally travel to spend Christmas with our children, so we are not as motivated to set up the big tree these days.
You have inspired us. I will send a picture once we complete our tree.
Oh, I would love that, Mindy! Safe travels!
I love this Debra! I have boxes of old Christmas cards( I only keep the photo cards). I always meant to put them in an album but I like this better. I am going to try painters tape though.
Thanks, Amy! I assumed the two (masking and painter’s) tapes were the same. I checked into it, and have added painter’s to my post. It comes off clean. Not sure masking tape ever left a residue, but painter’s tape does seem a better option.
You are so cleaver Debra and always inspiring me.
I love your idea and will find a great place for our wall tree! Wishing you and yours a wonderful Thanksgiving.
Warm wishes,
Taunya
Thank you, Taunya! Your comment delights me. LMK how it goes!
What a great idea to enjoy the colorful and fun Christmas cards year after year! Now I can dig them out of the drawer! Thanks Debra. You’re always full of great ideas.
Thanks for a lovely comment, Donna. Much appreciated!