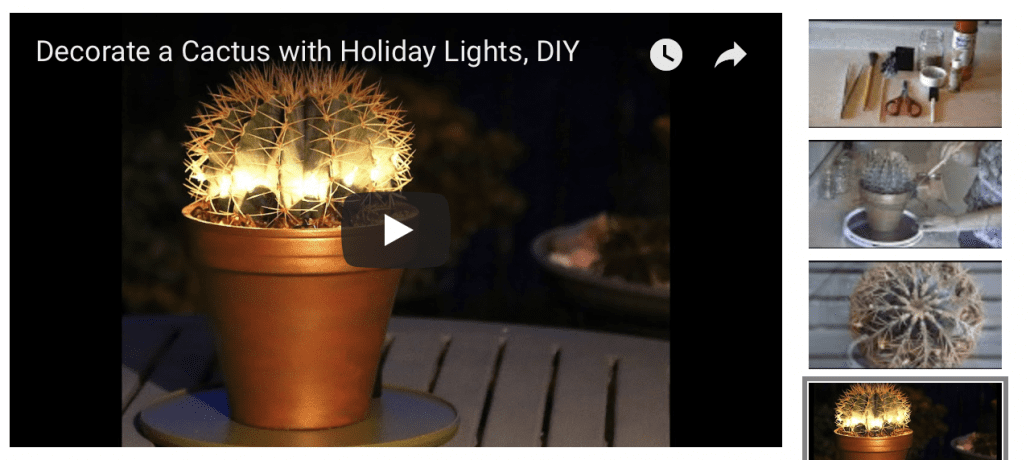
Decorate a Cactus with Holiday Lights, Step-by-Step
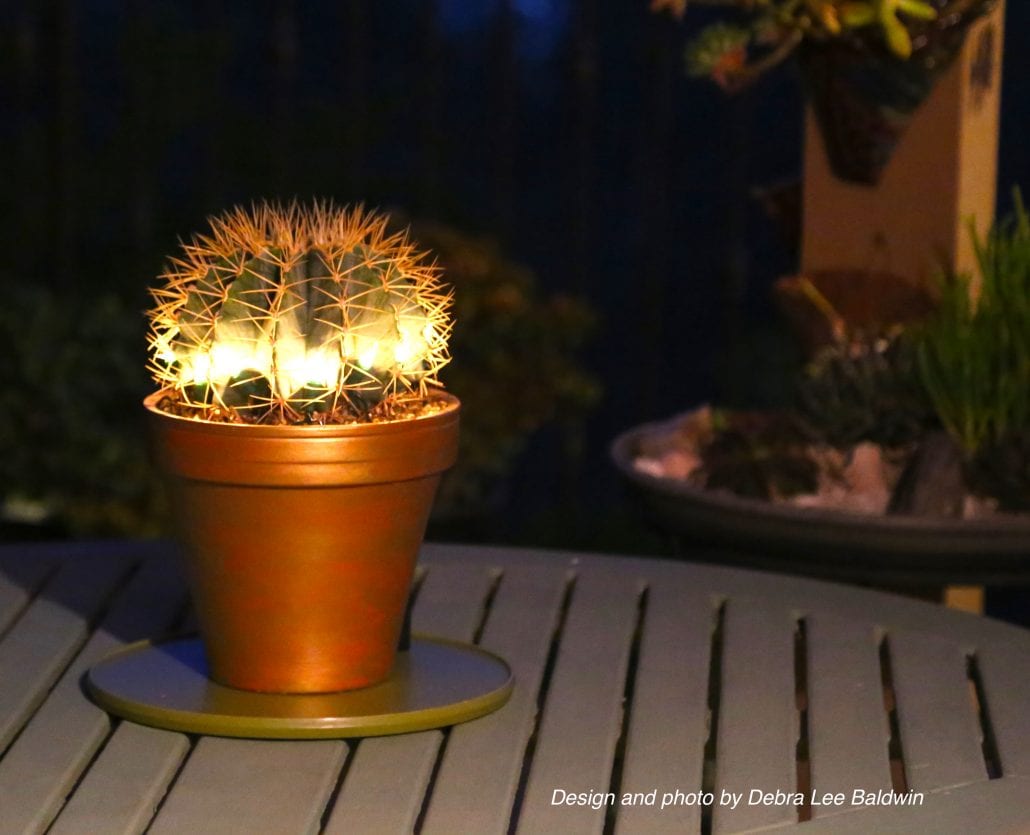
A Ferocactus in a gold-painted, terra-cotta pot glows with mini lights
Inspired by my friend Sabine's holiday succulent garden, I decided to light up a succulent of my own. The resulting potted Ferocactus glaucescens is the holiday centerpiece for a patio table visible from my kitchen and dining room. The plant's translucent spines glow when light shines through them, creating a fascinating display. I painted the pot to match the gold of the spines so the tabletop display would look good during the day as well as at night.
Step-by-step
If you're decorating an in-ground cactus or one that's already in a pot, skip to #7.
My ferocactus is shaped like a pumpkin and is 7 inches in diameter (including spines).
Step #1: Select a spherical, long-spined cactus from your local nursery
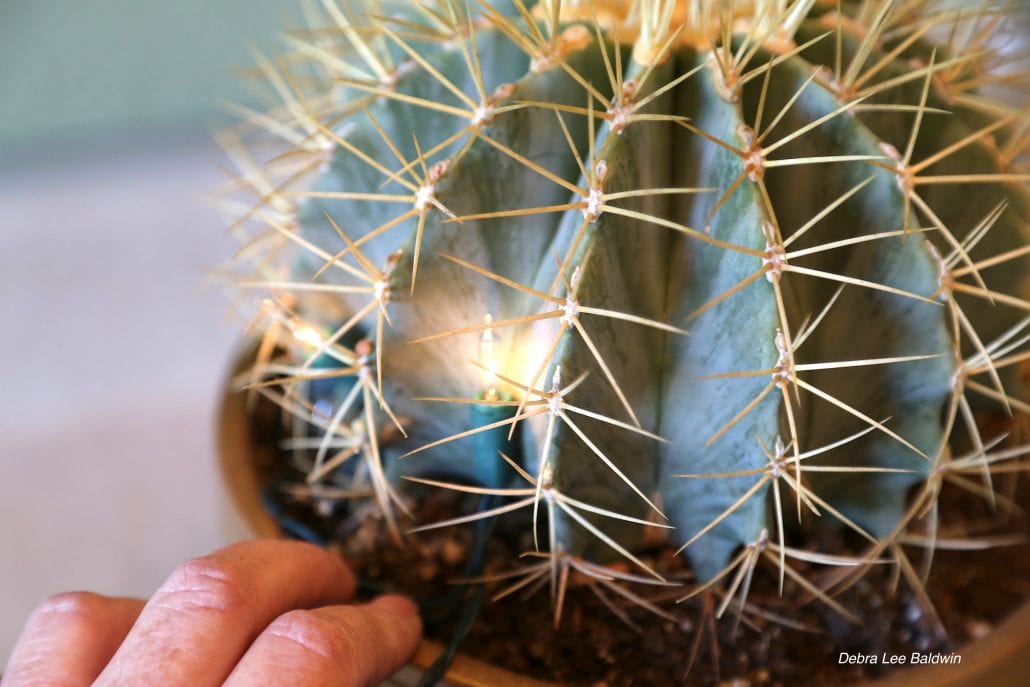
I chose Ferocactus glaucescens because its spines are quite long, and I like the plant's blue-green color. In retrospect, I would have counted the number of ribs and gotten a barrel cactus with 10. This one has 12---two more than the number of lights in the package. But most arrangements are viewed mainly from one side, so the "dark" side is in the back, along with the battery pack.
Step #2: Choose a pot or container that's in scale with the plant
I went with a new terra-cotta pot because I wanted something clean and simple that would elevate the plant, and that I could paint the same gold as the spines.

Tools and materials include long handled tweezers, a soft brush, a wood chopstick, mini lights, kitchen scissors, gold stones, floral pins, a disposable paintbrush, gold paint and water sealant.
Step #3: Head for the craft store
At my local Michael's, I bought gold "patio paint," a disposable brush, floral ("greening") pins, and battery-operated lights. I already had a wood chopstick, a can of Thompson's Water Seal, long-handled tweezers and the kitchen scissors I use for gardening.
Step #4: Paint the pot
Paint the outside and inner rim of the pot with outdoor craft paint and spray the inside with the waterproofing sealer.
Step #5: Add soil
Gauge the size of the plant's rootball in relation to the shape and depth of the pot. Add soil (I simply used pumice---up to you) if you'll need filler for the bottom. Otherwise you risk plopping the plant into the container and finding it sits too high or too low. Which means picking up the !@#$% porcupine again.
Step #6: Pot-up the plant
Extract the plant from its nursery pot and plop it into the new pot. This is tricky. You can't touch the plant, and I didn't want to dump it out because that might get soil on it that would be difficult to remove or worse, break spines. I also didn't want to pull on a heavy plant and risk detaching it from its roots. So I cut the plastic pot away from the rootball, using the kitchen scissors, resulting in a plant-plus-rootball I still needed to get into the pot. I knew garden gloves were useless with spines like those, so I improvised with a long-handled bathroom brush and tightly crumpled newspaper. Using them to push against it, lifted the plant. (Memo to self: Get a second bathroom brush.)
Step #7: Settle the plant in the pot
I adjusted it a bit using the bathroom brush and newspaper, then pushed down on the soil along the rim with the tips of my long-handled tweezers.
Step #8: Turn on the mini-lights to make sure they work. Start with the light on the end of the string and, using the long-handled tweezers, tuck it between two ribs, under the lowest spines. Use floral pins to secure the wires and conceal them. Remember they're there when it comes time to remove the lights or repot the plant. The pins will rust in the soil and... Step #8.5: Get a tetanus shot.

Gold rocks are $14 for 1.65-lb jar. Small pebbles would work as well.
Step #9: Add topdressing
I used gold rocks that I found online. (Affiliate link.) Wait a week to water it. Cactus roots really shouldn't be watered immediately after planting because broken roots are more vulnerable to rot.
Step #10: Place it where you can see it at night
Take photos and post them on Instagram or Facebook and tag me @DebraLBaldwin. I'd love to see what you come up with!
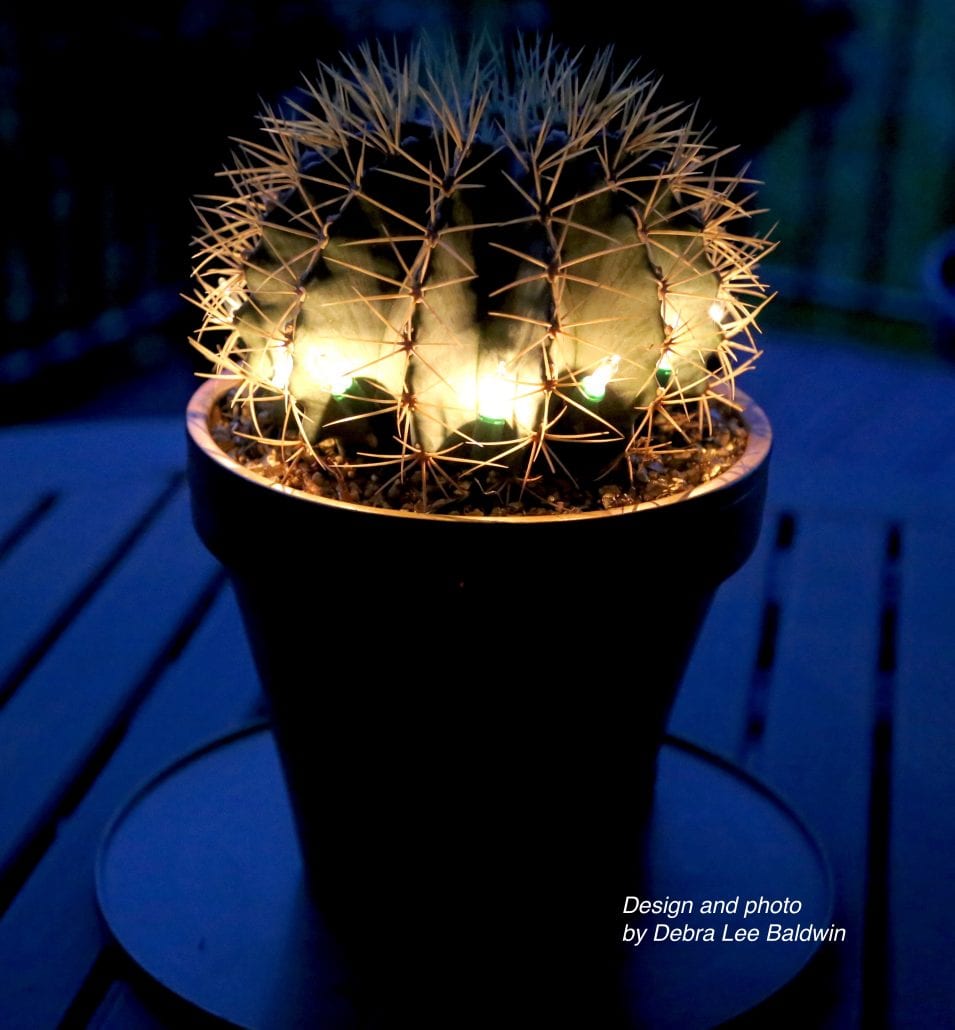
This is how the cactus looks after dark.
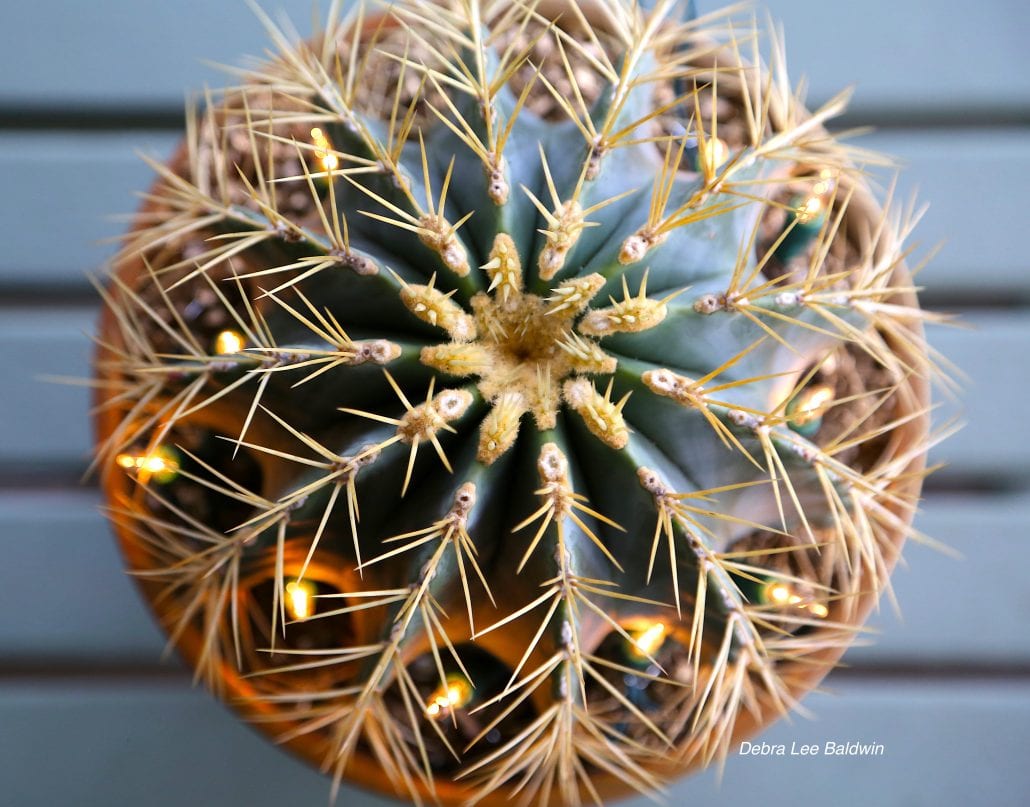
And at anytime, it looks like a snowflake.
Watch me make it on YouTube: Decorate a Cactus with Holiday Lights DIY.
Related Info on This Site:


You are so clever! 🙂 I can’t wait to try this.