How to Repot a Stuck Spiny Succulent
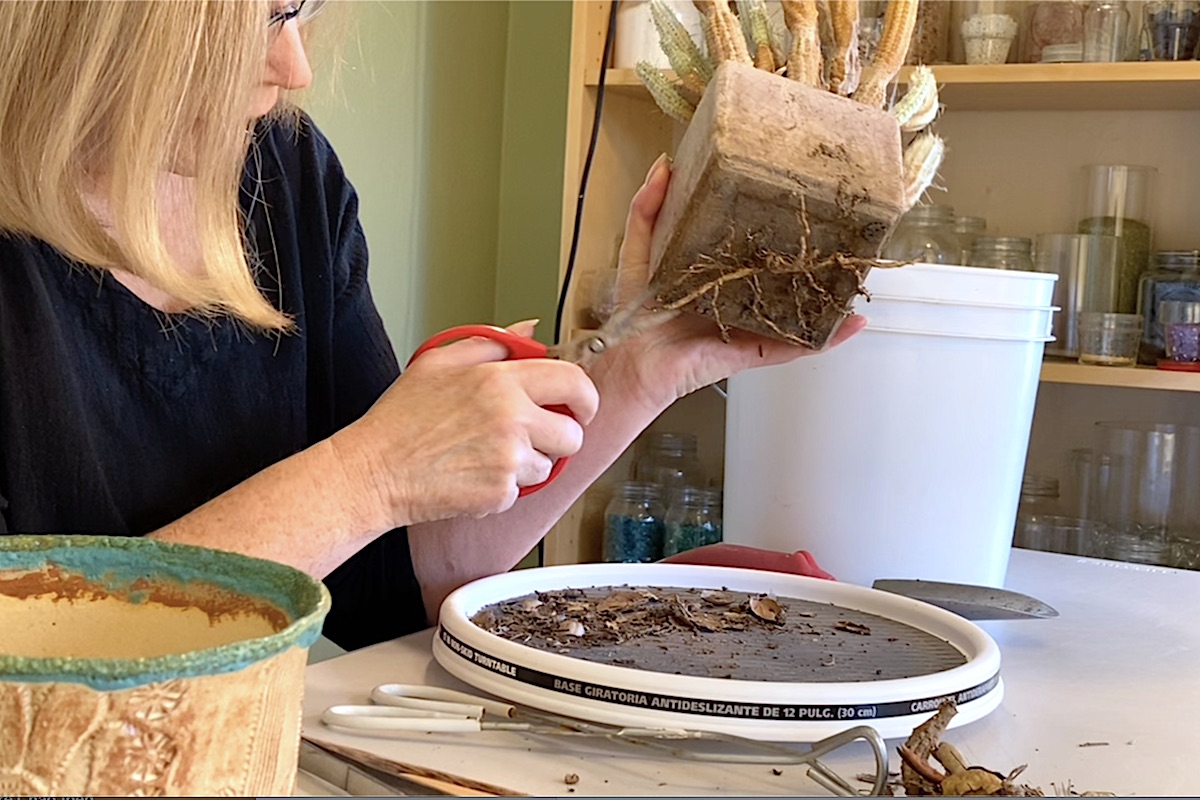
My idea for my latest YouTube video was to show you how to use tweezers and kitchen tongs to repot a spiny succulent without touching it. For my overgrown corn-cob euphorbia, I picked an art pot with the perfect size, color and pattern. But after I tried unsuccessfully to slide the spiky succulent out of its old pot, I discovered (yikes!) it was firmly stuck.
How to extract it without harming it...or myself? Well! What a great opportunity to show you how to repot a stuck spiny succulent---a tricky, not uncommon problem. (Btw, in the video it sounds like I'm damaging my table, but it's fine.)
How to repot a stuck spiny succulent: Video stills
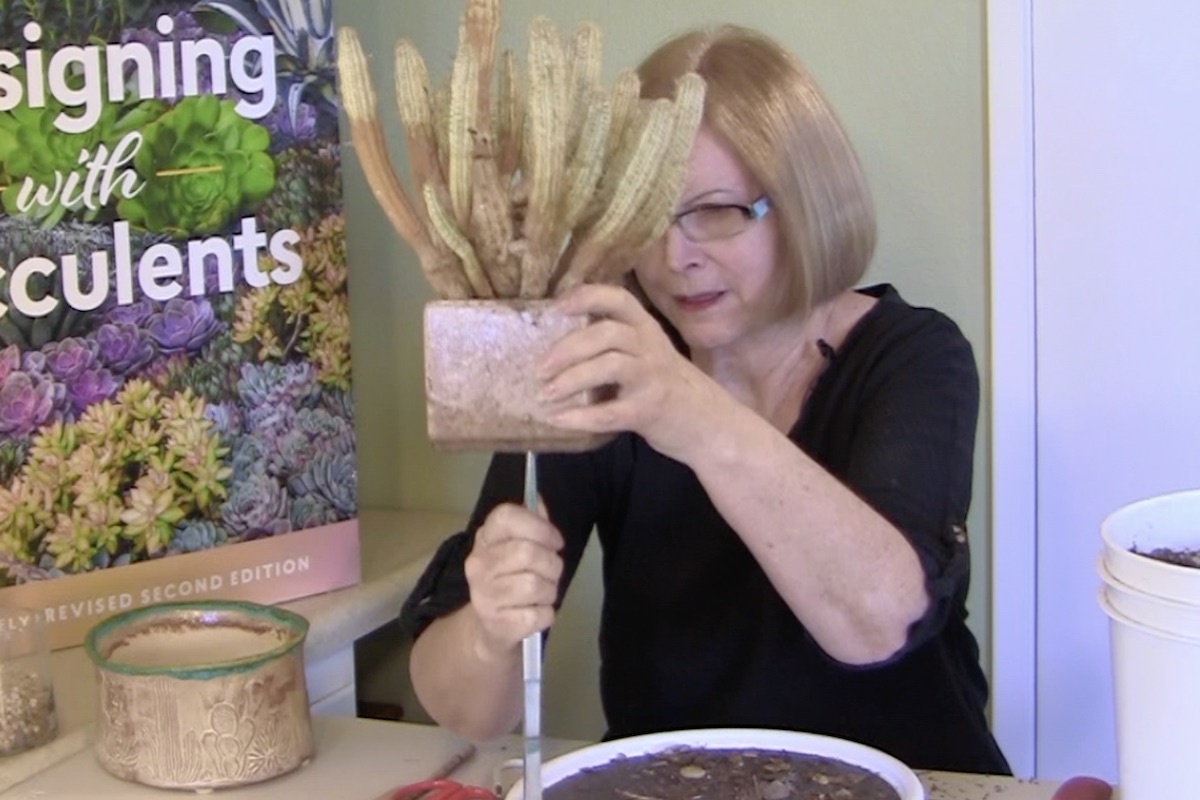
I try to push the root ball upward through the hole in the bottom of the pot
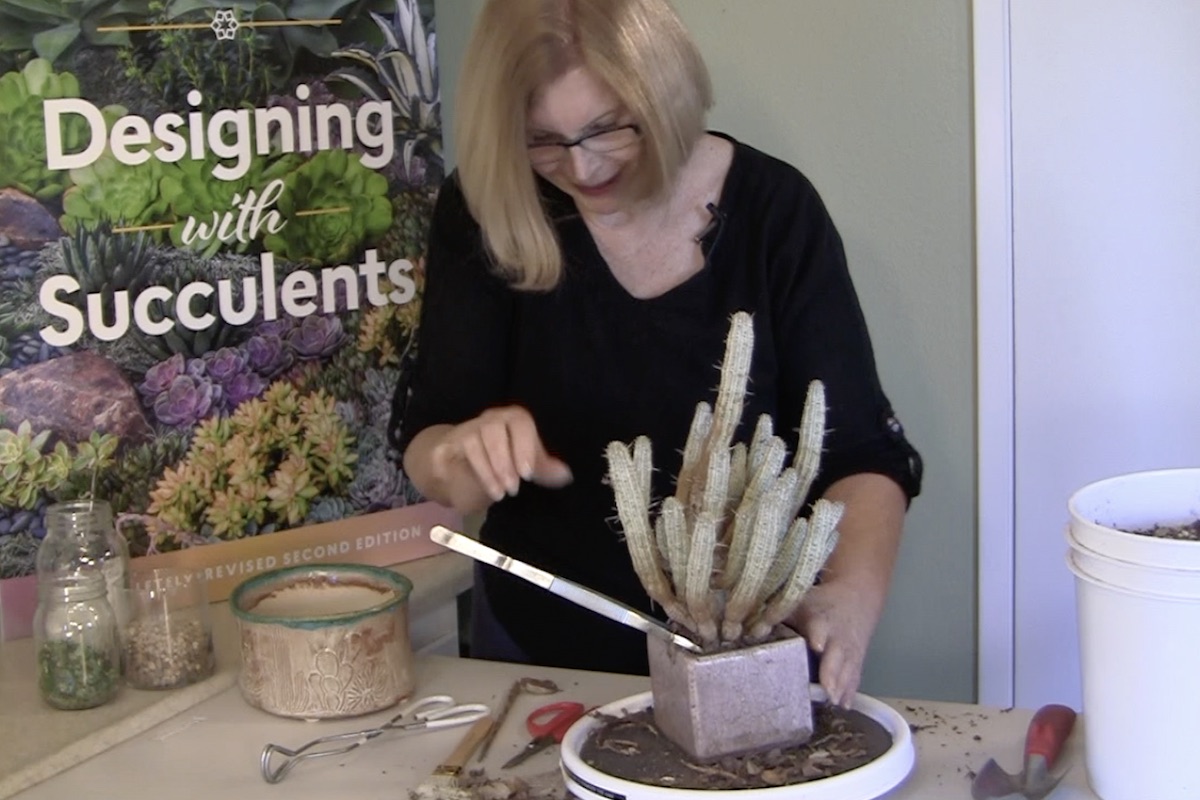
I use my long-handle tweezers as a lever
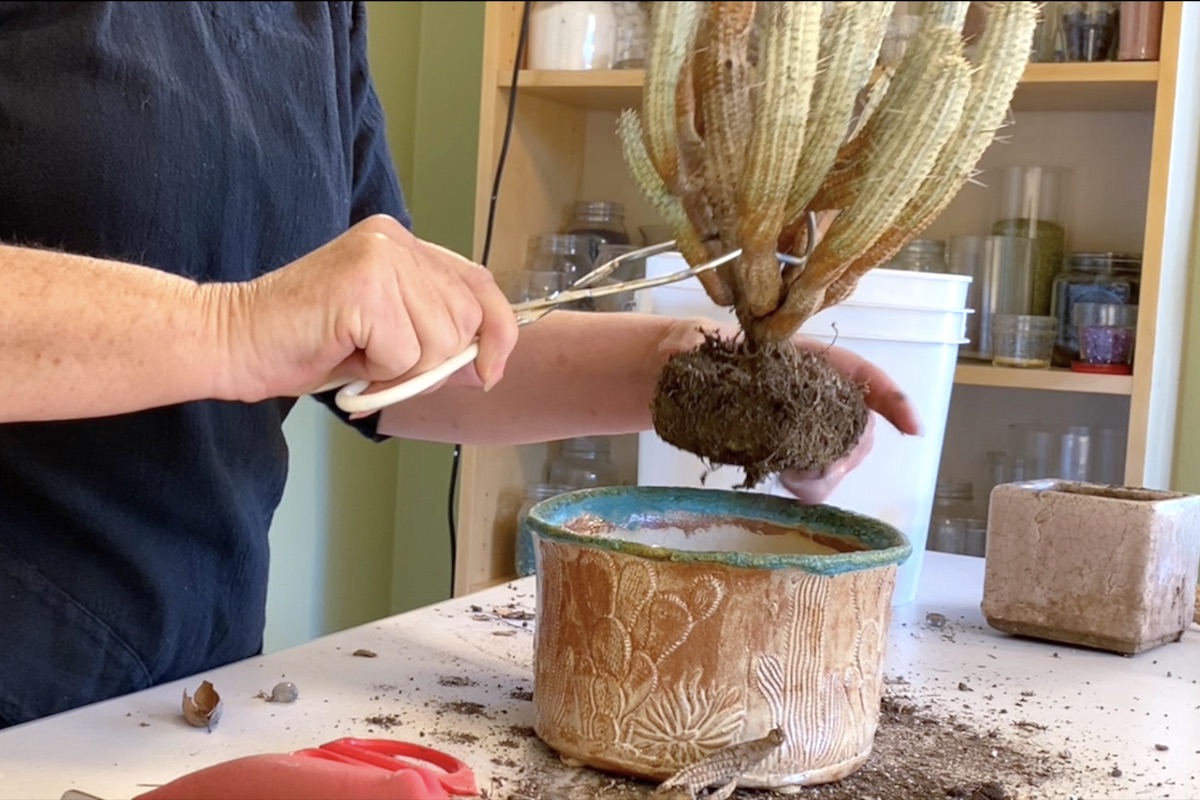
I hold the root ball with kitchen tongs.
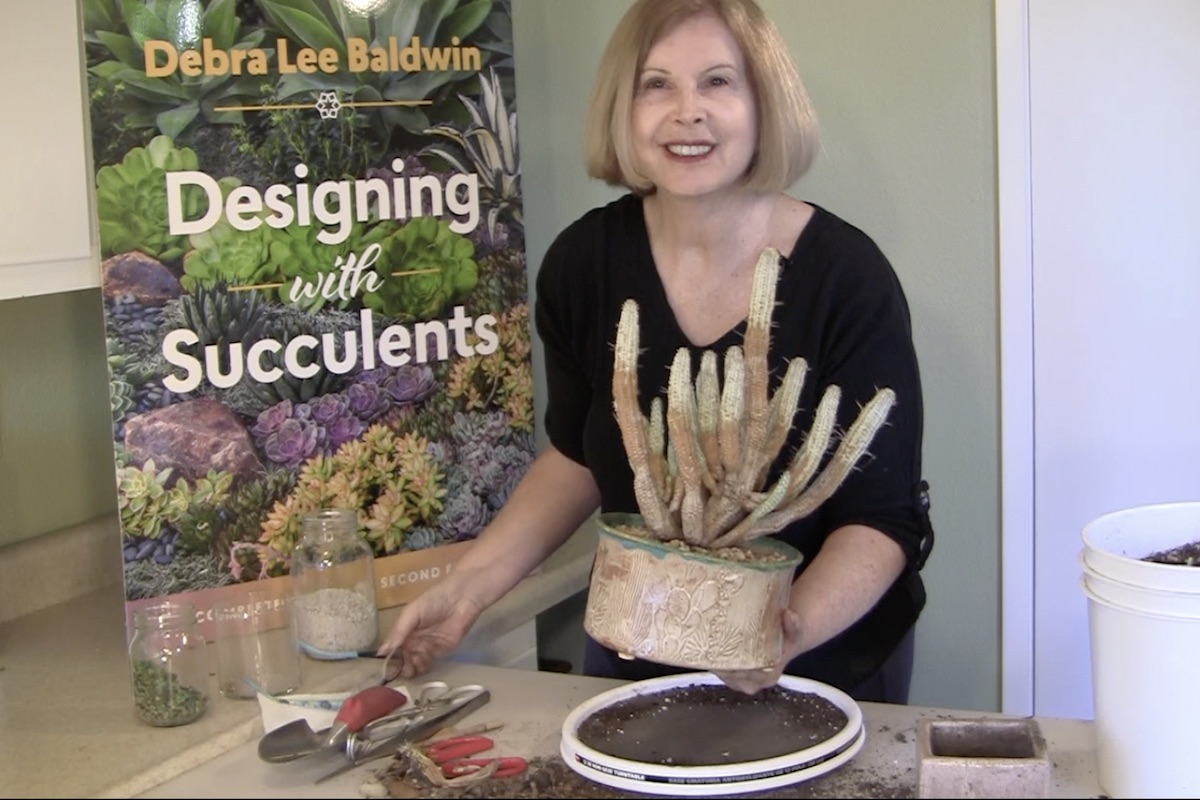
Yay! Got it repotted!
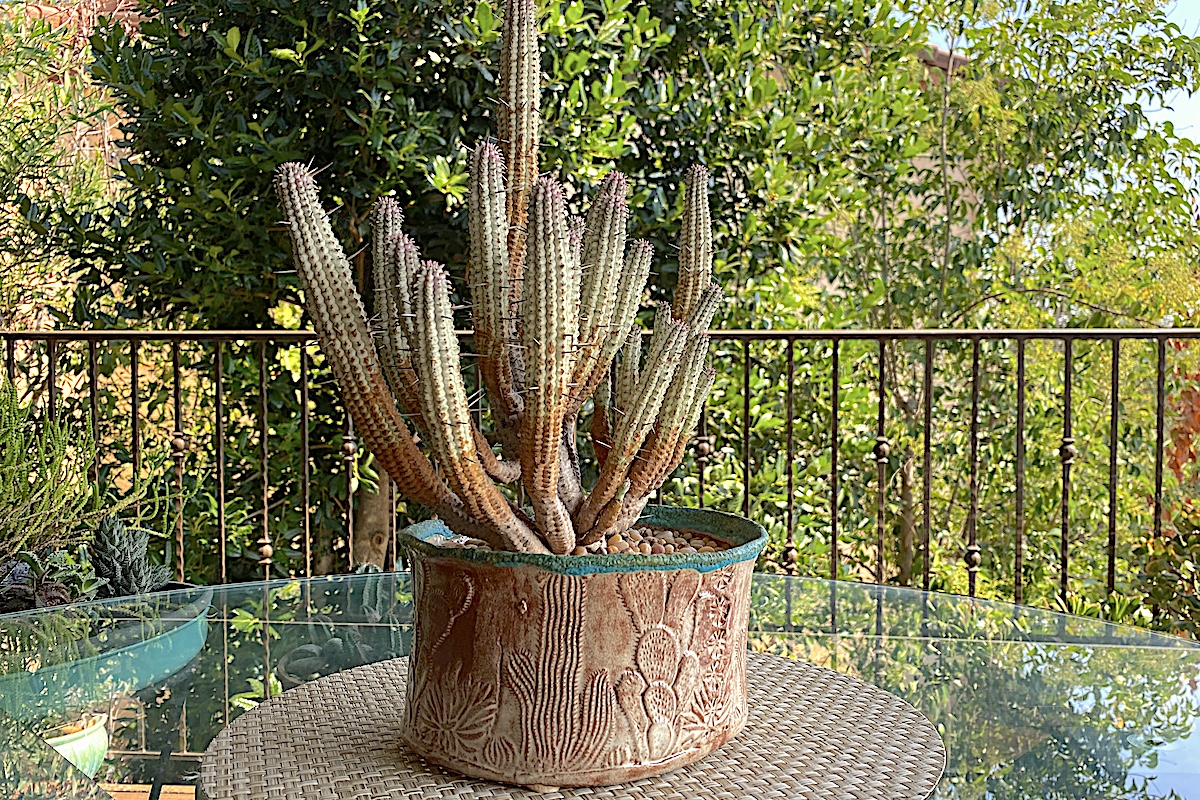
Here's the newly repotted euphorbia on my deck. I love how the pot's design repeats the texture and shape of the plant.
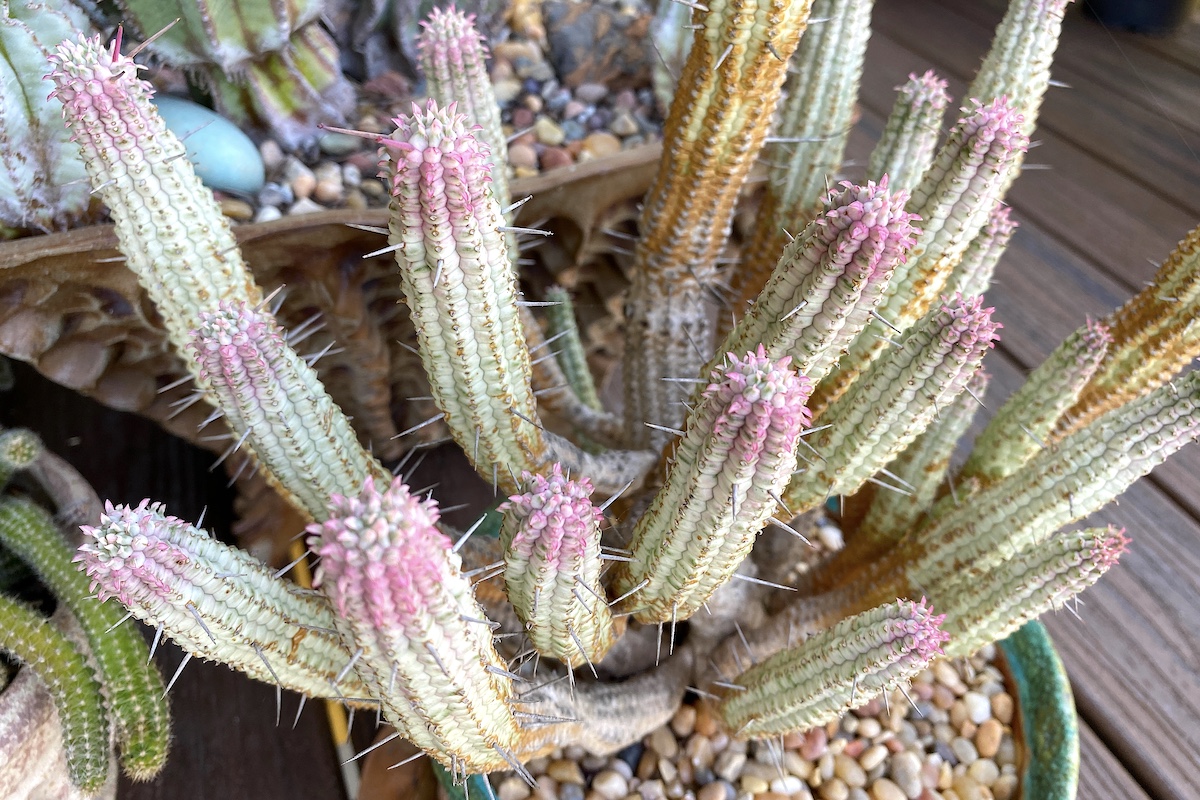
After several months in its new pot, the euphorbia's tips pinked-up beautifully.
Tools and Materials
- Pot and spiny succulent
- Potting soil
- Trowel (hand shovel)
- Long-handle tweezers
- Kitchen tongs
- Clippers
- Optional: Turntable, pebble topdressing, paper towel, cheap paintbrush, pumice
Method
Assemble tools and materials. Tidy and prune the plant. Use long-handle tweezers to remove debris from its center. Use kitchen tongs to grasp and pull the plant out of the old pot. If it won't come out, check to see if roots are growing out the pot hole. If so, snip them off. If the plant still won't come out, insert a pointed object (like a pencil, chopstick or long-handle tweezers) into the hole and push up. (In the video I use some force to do this, pounding the bottom of the tweezers on the table.)
If the root ball is still stuck, insert tweezers into the pot at an angle, push down so they grasp the root ball, and raise them---root ball and all---by using the edge of the pot for leverage.
Once plant and root ball are out of the pot, use a soft paintbrush to remove remaining bits of dirt and debris. Add enough potting soil (I amended mine 25% with pumice) to the new pot so that the crown of the plant rests about an inch lower than the rim. Add more soil as needed to cover the root ball, pressing firmly to anchor it.
Conceal soil with topdressing. I used small rounded pebbles that repeat the pot's color and pattern. Water the plant to clean it and settle its roots. Place it where you'll enjoy it and it'll receive optimal light. After several months, my corn cob euphorbia's tips had turned pink. Beautiful!
Have questions or comments? I appreciate hearing from you. Please post them in the Comments section below.
Resources
Find succulents and top dressings online at Mountain Crest Gardens
The art pot used here is by Regina Fernandez of Port Town Pottery. She sells at Cactus & Succulent Society sales throughout Southern CA. Connect with her on Facebook and Instagram.
Watch the new video: "How to Repot a Stuck Spiny Succulent" on YouTube (5:47)
Ensure Perfect Pairings With These Design Basics
Simple design principles can take your potted succulents from ho-hum to WOW. My 3-min video is a must-see if you’ve ever wondered which succulents to choose for a container—especially if it’s a collectible piece of art pottery. Apply these guidelines and you’ll be amazed at how polished your important plant-pot pairings look! Surprisingly effective Knowing…
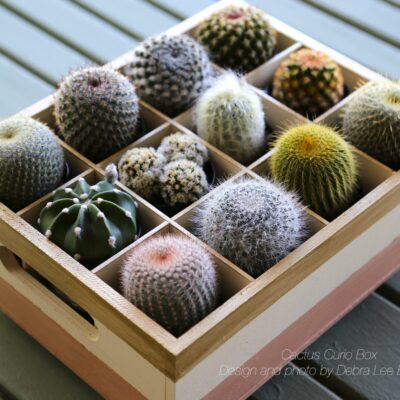
Create a Cactus Curio Box
Cacti are succulents with simple shapes, and none illustrate the plants’ elegantly elemental geometry as well as spherical varieties. To showcase the beauty of these often-ignored succulents, I went with an open wood box with a dozen partitions, each just right for cacti in 2.5-inch pots. My goal was to elevate textural, glowing orbs to the status of jewelry or artwork.
My Must-Have Garden Tools for Spiny Succulents
The tools I use when working with spiky, spiny succulents include 12-inch tweezers, kitchen tongs, artist’s brush, chopstick, scissors, metal teaspoon, inexpensive garden gloves, and duct tape.


Hi Debra,
I use a method I have not seen others use, but it seems to work best… unless the pot narrows at the top.
Grasp the plant, using a thick piece of foam if it’s spiny, with the pot suspended in the air. Tap down around the edges of the pot with a rubber mallet or the padded end of a trowel, or any other object that will not shatter the pot — if the pot is to be saved. This method, if the soil is reasonably dry, usually brings the roots and soil out intact, making it quite easy to repot without disturbance to the roots.
Pushing up through drainage holes will often damage roots leading to rot.
All the best,
[Name withheld by request]
I once freed a plant in a similar situation by taking it outside a hosing it , using a small amount of water pressure to free.
the roots of soil starting at the top of the pot, eventually washing the top soil out.
It may not work in cases , but no damage was done to the plant
Great idea, John. I did consider that, and might have done it if I hadn’t been in the middle of making a video. I just needed to get the dang plant out of the pot so I could continue! Thanks for stating the obvious, LOL.